Growth Marketing
29/3/2026
Learn how to import contacts into Hubspot CRM with our step-by-step tutorial. Follow the steps to effectively manage your customer database


Importing contacts into the Hubspot CRM is essential for effectively managing your customer and prospect database.
In this tutorial, we explain step by step how to do this operation with ease. Follow these instructions carefully to take full advantage of your Hubspot CRM and optimize your contact management.
If you do not yet know what this CRM is, we recommend this guide to learn more about Hubspot CRM.
To learn on your own, sign up for our free Hubspot training !
Before you start importing, make sure that your Contacts are formatted correctly in a CSV file (values separated by commas) or XLS (Excel file). Here are some tips for preparing your file:
Hubspot will analyze your file and present you with a list of the columns detected.
On the next screen, you can configure the import options according to your needs. For example, you can choose to send a notification to your email after the import is complete or to update existing contacts with the imported data.
You can also add imported contacts to an existing list or create a new one. To do so, check the “Add to a list” box and select an existing list or enter a name for a new list.
If you want to assign a sales manager to imported contacts, select the “Assign manager” option and choose the relevant sales manager from the dropdown menu.
Once you've set up the import options according to your preferences, click “Next.”
Before you start the import, Hubspot will show you a summary of the data and settings you've selected. Verify that everything is correct and that the properties are correctly linked.
If you notice an error or want to make changes, use the “Back” button to go back to the previous steps and make the necessary adjustments manually.
When you are ready to start the import, click the “Import” button at the bottom right of the window.
Hubspot will start importing your contacts and will show a progress bar to let you know how the process is progressing.
Depending on the size of your file and the number of contacts to be imported, the import may take some time. You can leave this page and continue using Hubspot while the import is in the background.
Once the import is complete, Hubspot will send you an email notification (if you selected this option) or you can see the import status in the “Imports” tab in the “Contacts” section.
If errors are detected during the import, Hubspot will notify you of the issues and provide instructions for resolving them. You may need to edit your file and start the import again to correct the errors.
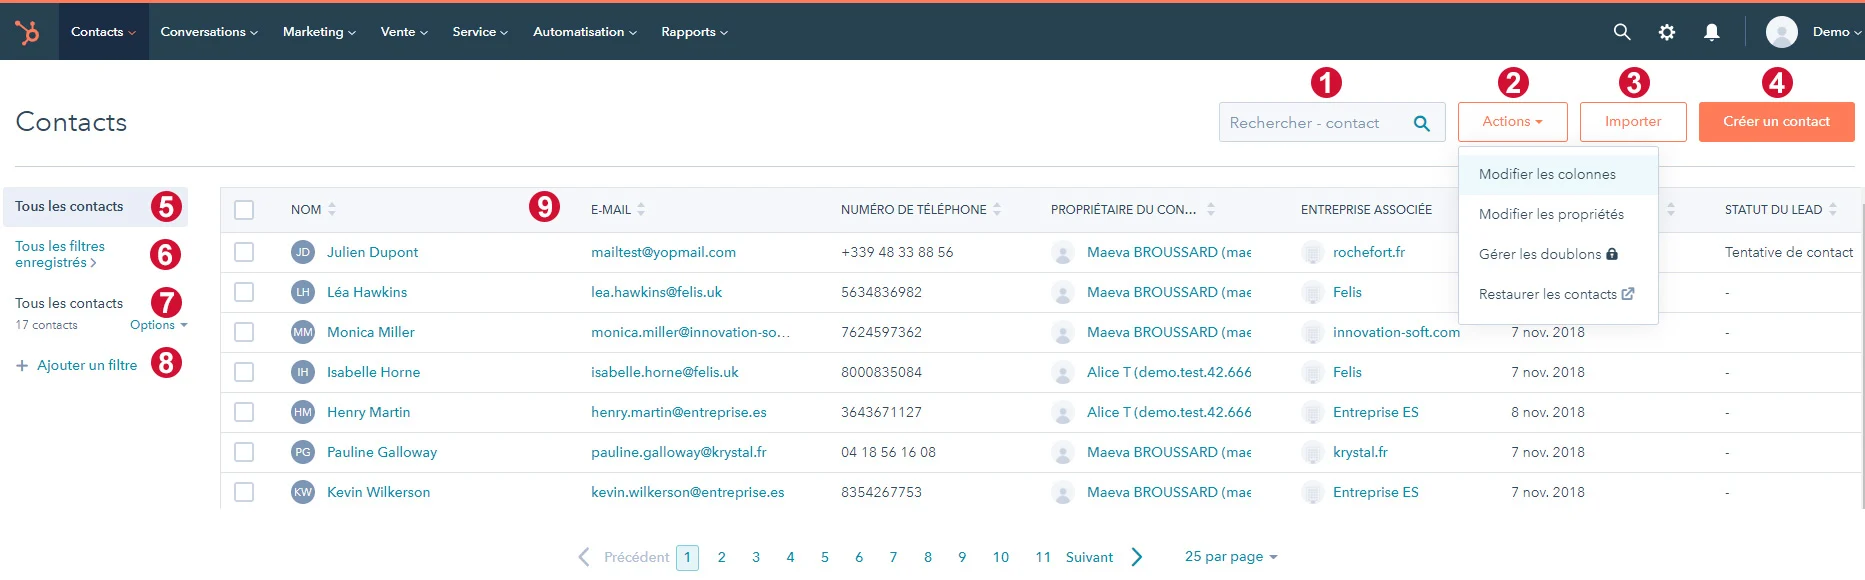
After completing the import, go to the Hubspot “Contacts” section to view the imported contacts.
You can search for specific contacts, filter the contact list by list or property, or simply browse your contacts to ensure that all information has been imported and updated correctly.
By following these steps, you should be able to successfully import your contacts into Hubspot CRM and start managing them effectively. Remember to check Hubspot for updates regularly and adjust your import processes accordingly to ensure you're always getting the most out of your CRM.
In addition to the import, a perfect setup and optimization of your Hubspot CRM is essential to get the most out of your customer base and increase:
1/ the transformation of your prospects by your sales representatives (pipeline, lead scoring, dashboard for example)
2/ the activation and retention of your customer database (email workflow, activities-based actions, automations, etc.)
For that, you can read our Comparison of the best Hubspot agencies to help you choose the right provider.
Want to get started? We are at your disposal for a support on the implementation of Hubspot. You can Contact one of our experts on the subject.
3 Boulevard de Sebastopol, 75001, Paris
©Copyright 2024. All rights reserved.
If you want to keep in touch, and get a summary of Growth Marketing every week, it's just happening here 👇